It’s that time of year when kids (both young and old) can get a little rambunctious with indoor fun, and the living room decor has been known to fall victim to some good healthy rough-housing… usually the pillows.
Here’s a simple solution to repair a split seam that will give any pillow new life – and look like a pro did it! (note: this works on any split seam on clothing as well)
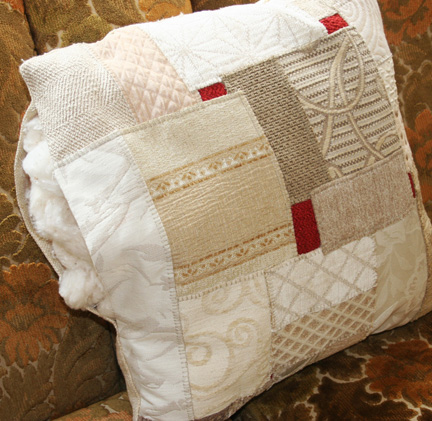
Has your favorite pillow split a seam?
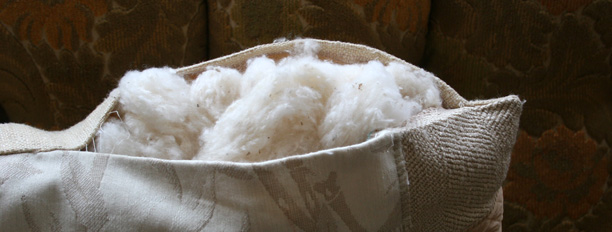
A torn seam need not spell the end of a perfectly good pillow
You will need:
1) a straight needle
2) a spool of thread (hand-quilting thread is a nice weight for this purpose, but any thread will do)
Begin by finding the two broken thread ends at each end of the split, pull them gently until no loops are visible on the outside and tuck them inside the pillow:
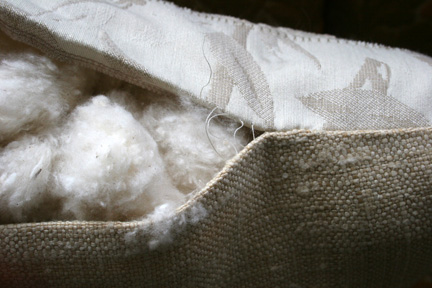
Find the loose thread ends at each end of the split
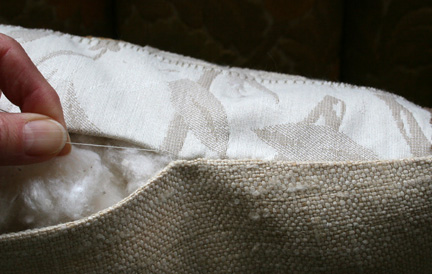
Tug the loose threads until any loops disappear, and tuck them inside
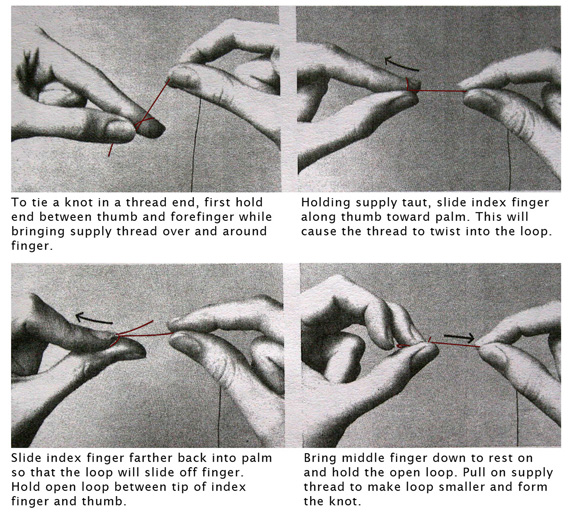
Now thread the needle – here’s a quick way to tie a knot in your thread:
Next, pin the opening closed at the center of the split, adding pins along the split as needed to keep the stuffing or pillow form inside. To begin sewing insert the needle from the inside of the fold coming out the middle of the crease line. Pull the thread through so the knot is resting on the back side of the crease out of sight:
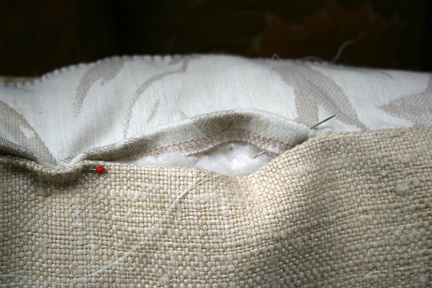
Inserting the needle to begin stitching
Take a tiny “lock stitch” to secure the beginning of your hand-stitched seam:
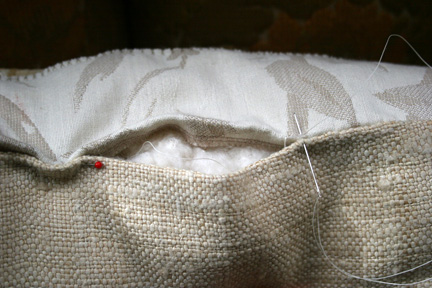
The “lock-stitch”
Take a 1/4″ stitch by inserting the needle into the opposite fold and working back and forth as shown:
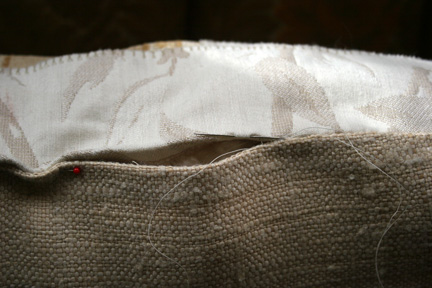
The “slip stitch” forms a hidden seam
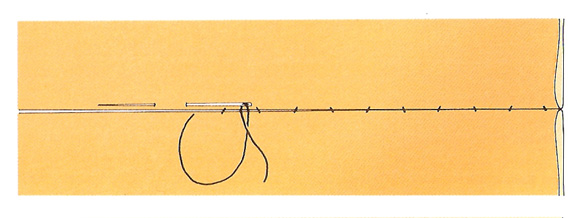
Finish stitching about 1/4″ beyond the opening at the other end, securing the end with two or three small lock stitches taken in one spot, looping the needle through each stitch before pulling it tight.
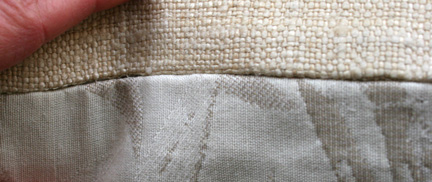
Look Ma! No threads!
Join NaturalUpholstery.com’s mailing list to receive our monthly newsletter with reupholstery tips, creative inspiration, and resources for using natural, non-toxic materials for upholstery.
From the Living Home Furniture site:
Comment from Allie (Jan 22, 2017) –
Thank you for the thorough tutorial! Using this, and a video on sewing a slip stitch (https://www.youtube.com/watch?v=QBoYFSxTVc4), I was able to mend my pillow successfully! I’m beginner sewer so I appreciate the clarity with which you described the process.
—
Allie,
I’m so glad this was helpful! Thanks for the link that may help others as well.
Carla