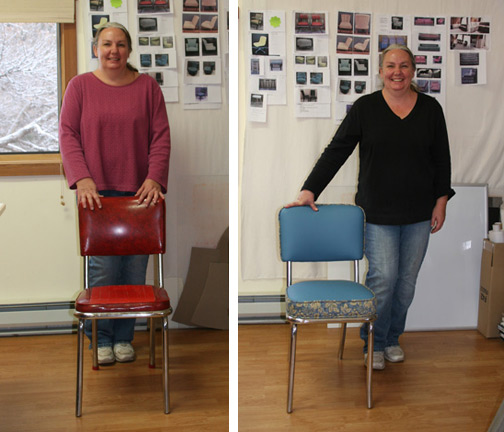
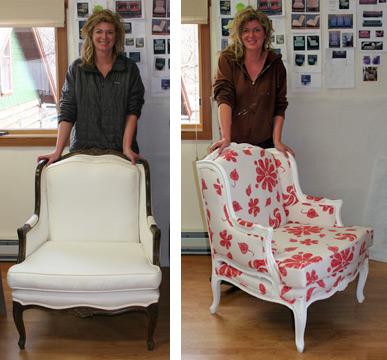
This is the most fun and essential step in the whole DIY upholstery process! You have just completed a beautiful transformation all on your own, and it’s time to step back and admire your new style! Be sure to take an ‘after’ photo and mount it next to the ‘before’ photo you took at the beginning to remind yourself, claim bragging rights, or just have a record of your accomplishment:

Leslie with her 50’s chrome chair – Before & After

Kim chose to restyle her Bergere chair with new paint and a John Robshaw fabric
Each time you settle into your better-than-new chair, there will always be that moment of celebration. Acknowledge that you are worth all of the time and effort of this accomplishment and expression of yourself!
The creative is the place where no one else has ever been. You have to leave the city of your comfort and go into the wilderness of your intuition. What you’ll discover will be wonderful. What you’ll discover is yourself
— Alan Alda
Join NaturalUpholstery.com’s mailing list to receive our monthly newsletter with reupholstery tips, creative inspiration, and resources for using natural, non-toxic materials for upholstery.
Leave A Comment