Before you begin tearing into your DIY upholstery project, be sure to take a ‘before’ photo – the fun part of restyling your chair is looking back at where you started and seeing all that you have accomplished!
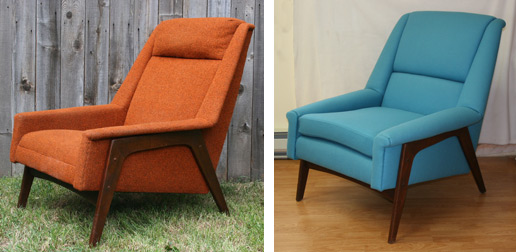
A mid-century modern DUX-style chair before & after restoration
First you will label your chair parts with masking tape or a sharpie and as you remove the fabric pieces, keep them as intact as possible for patterning in Step 7 – Fabric Layout & Cutting. I recommend taking lots of notes & photos of your progress. As you peel each layer away, the next will be revealed. As a general rule, the order of removal will progress from the bottom-cloth to the outside back, outside arms, inside back, inside arms, and finally the seat. This order will be reversed during Reconstruction in Steps 8 & 9.
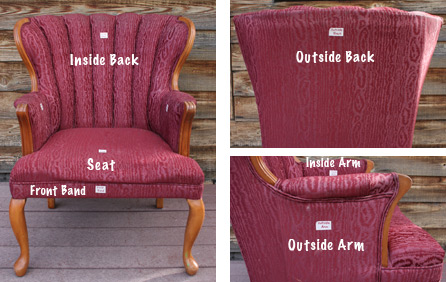
The labeled parts of an upholstered chair
Removal of the old cover fabric is usually messy and can be challenging and tedious, though students have told me that the excitement of seeing it covered in their new fabric has carried them through this step without abatement of enthusiasm, or they just like tearing things apart!
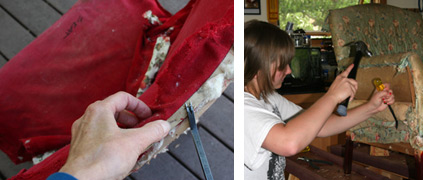
The forked staple remover is a common tool used in upholstery deconstruction
Antique pieces may present you with hundreds of tiny tacks to pull. Some chair styles will have decorative tacks to remove, while others (the lucky few!) will be upholstered with relatively few staples. Hardwoods such as oak and maple hold staples and tacks tightly in their closed wood grain, while the softer alder and poplar woods are more forgiving.
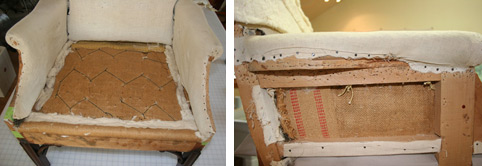
The age-old upholstery technique of horsehair stuffing is almost a lost art and preserving it in a DIY project is always a rewarding experience
It is best if you do not remove the upholstery padding at this point unless there are foundation elements beneath the padding such as springs, webbing or wood platform that need attention. If you do remove it, preserve it as best you can. I always re-use the old padding whenever possible, as it defines the shape of the piece, which may be difficult to re-create accurately with new material. It is often advisable to add new material on top of the old to reinforce, fill or reshape in certain areas. This is done in Step 6 – Reconstruction: Padding
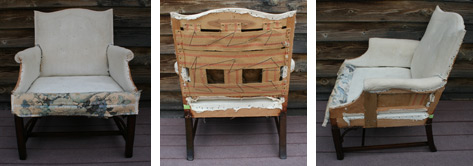
This antique chair’s upholstery was held together with hundreds of tiny upholstery tacks in a hardwood frame. The muslin shapes and protects the original horsehair stuffing.
Previous: Step 3 – Fabric Selection
Next: Step 5 – Cleaning, Repair, & Refinishing
Join NaturalUpholstery.com’s mailing list to receive our monthly newsletter with reupholstery tips, creative inspiration, and resources for using natural, non-toxic materials for upholstery.
I’m excited to follow and read your remaining steps! I recently found a chair which is in great condition and has a shape I love, however I’m quite intimidated to reupholster it myself as it’s a channel back chair with wooden arms.
Erin,
Thanks so much for your comment! Channel backs may present a bit of a challenge in stuffing the channels so they are smooth and not lumpy. You might have the best luck if you can re-use the old channels without taking them completely apart – this will depend on how your particular chair is put together. The next step in the process is Step 5 – Cleaning, Repairing & Refinishing, which I have posted here: http://naturalupholstery.com/10-steps-of-reupholstery-step-5-cleaning-repair-refinishing I will post the remaining 5 steps soon!